Hi everyone! I'm here with my very first tutorial ever, and it's about how you can make your very own washi tape using Scrapyrus Designs products.
Sometimes you have this one layout mapped out in mind and you know you'll need a washi tape (or two) but the kit does not come with one, so this is where you can learn how to make your very own tape.
Washi tape has been very popular this year, traditionally and digitally. It comes in various sizes and color. The lovely thing about a washi tape is its translucence so it is important to remember this while making your own tape. I'm using Photoshop for this tutorial so I hope you can adapt this to your own software(s).
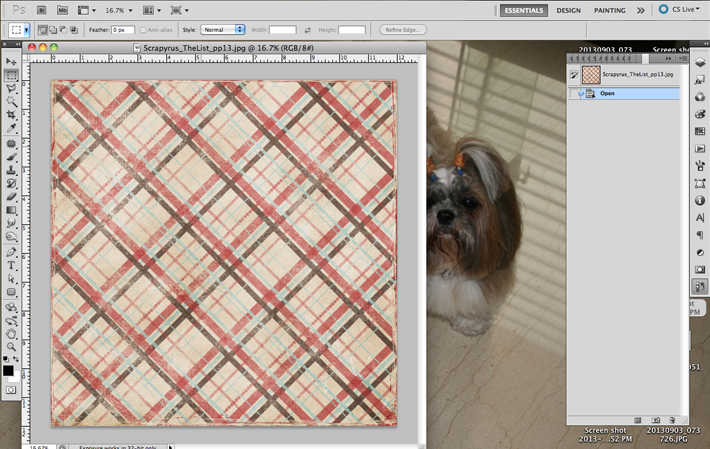
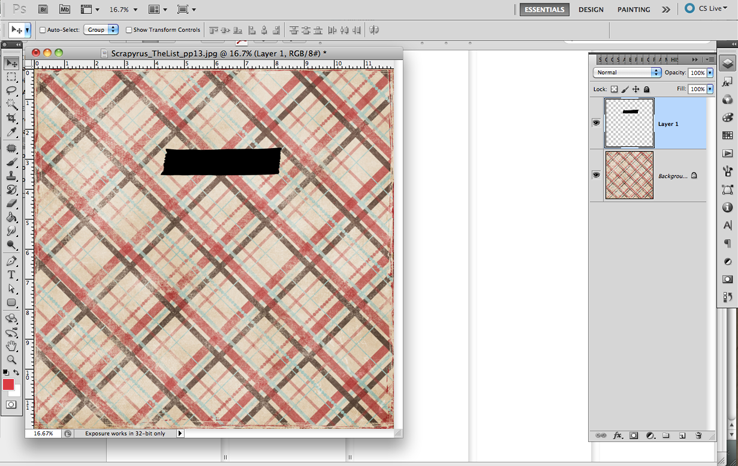
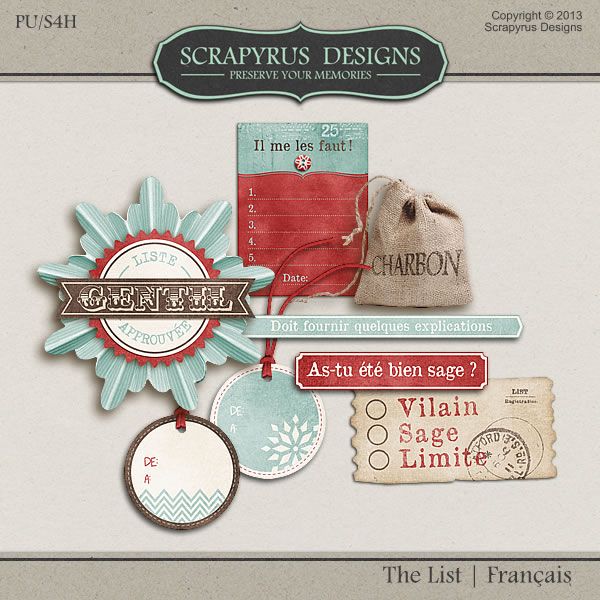
1. Open your favorite Scrapyrus Designs paper. I'll choose this one from The List (pardon my desktop background there):
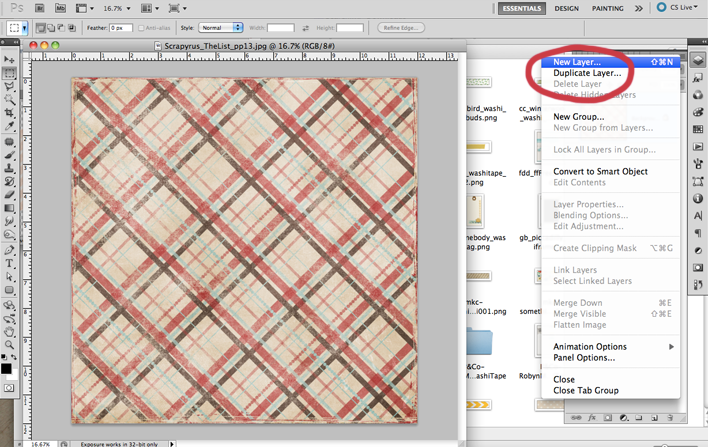
2. Create a new layer:
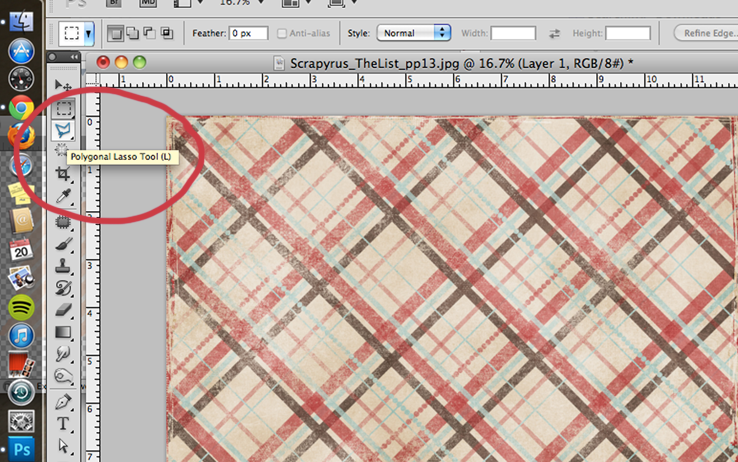
3. On this new layer, create the tape shape using the lasso tool and fill it using the paint bucket tool:
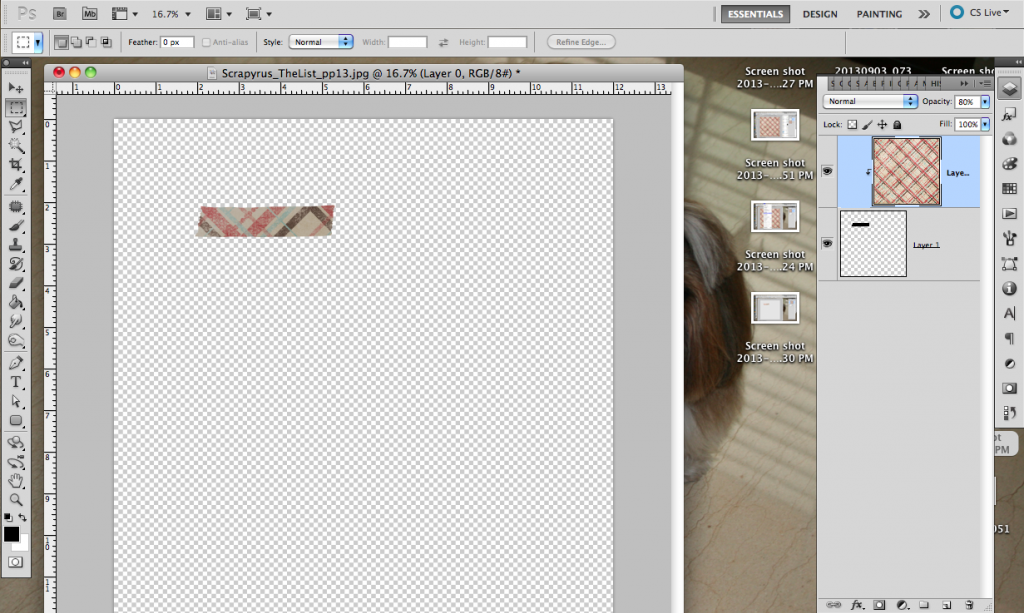
4. Now the important part. Double click on the background layer and switch it around with the shape.
Right now the background layer is on top of the shape. Keep it selected and open Layer > Create Clipping Mask:
5. You can see your tape now, but it's not ready yet.
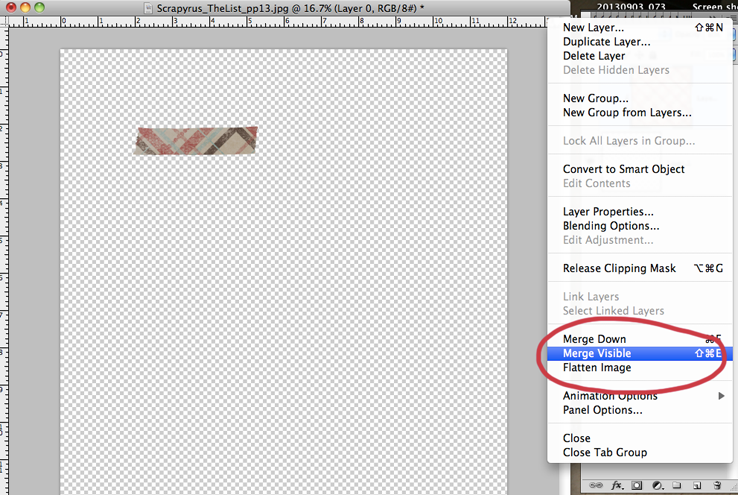
6. Now merge the two layers together, don’t flatten it. Adjust the transparency to your liking. I usually go between 75-85%, depending on the patterns. Then add shadow and you're done!
I made several masks to get you started:
{sorry, link has expired}
This tutorial is also available as a pdf that you can download
here. Thanks and have fun!
