Thursday, August 21, 2014

Tutorial: Aligning elements in Photoshop

Hi there Scrapyrus Designs' addicts! I have another great tutorial for you today. It's all about aligning elements on a page using Photoshop. It even works for papers! Or anything, really...

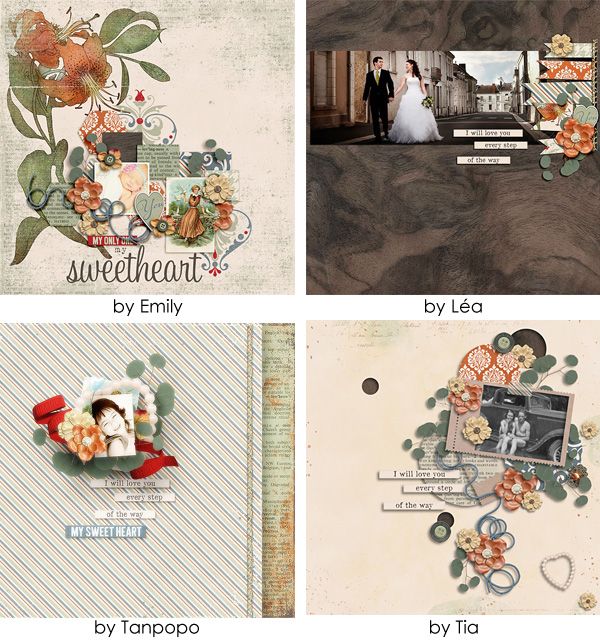
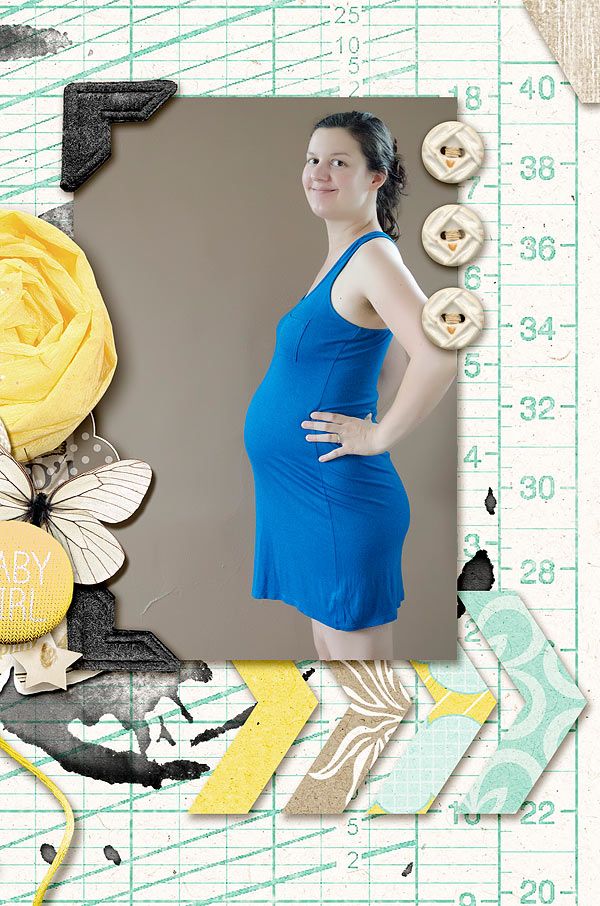
I made a layout a while ago that uses this technique several times.


Do you see how the buttons are perfectly aligned and spaced out? Well there is a trick to make that happen in one click of the mouse each and once you know the trick you will never go back.
Also notice the chevron. Same trick was applied there.

Now it's time for you to try. Just follow along the instructions and you'll see how easy it is.

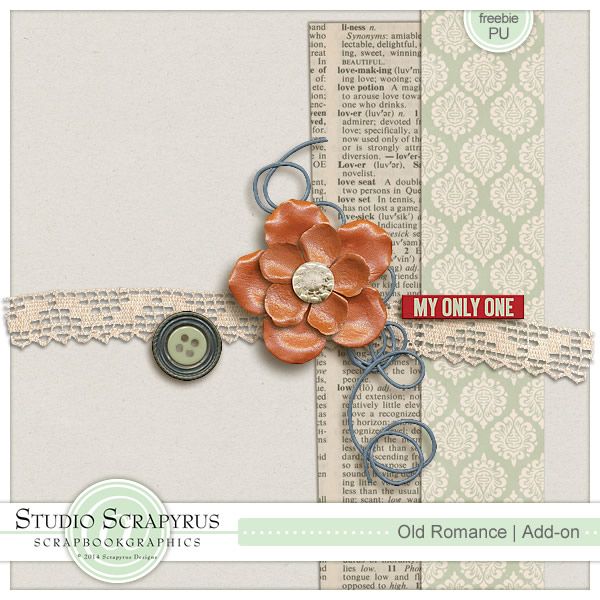
Create your page and add three elements of choice. They don't have to be the same exact buttons but it helps if they have approximately the same size and shape.
In my case I just duplicated the layer of my button twice and now I have three. Obviously they need some alignment and spacing check.


Now to use the trick in Photoshop you have to have the Move Tool selected (shift+v) and your three layers selected as well. To select all three layers at once click on the top layer, keep holding the shift key on your keyboard and click on the bottom layer.


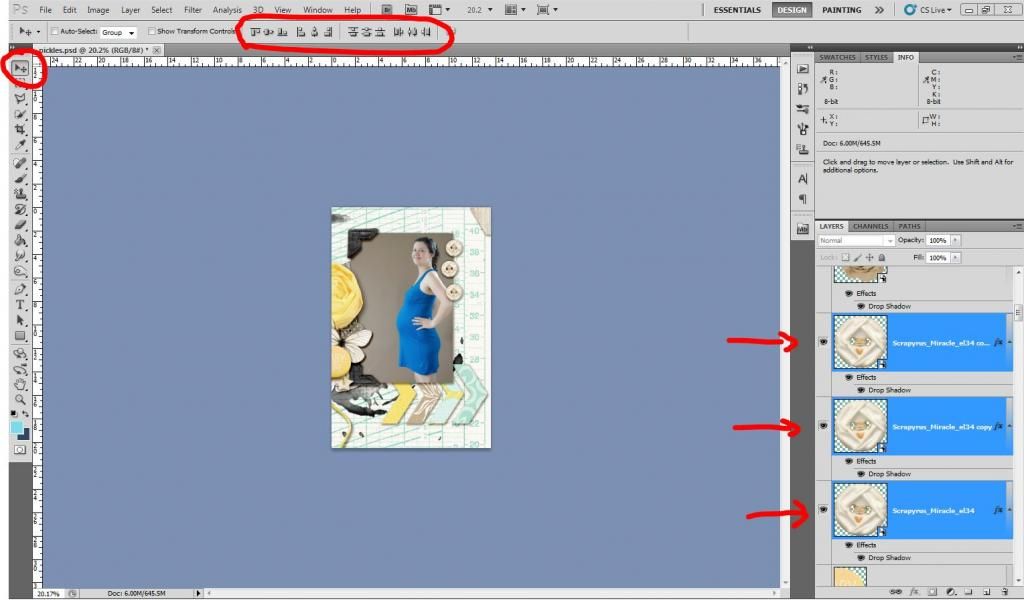
Next we will take a look at the series of buttons I circled above in the middle of the toolbar.
If you hover your mouse over each button it will tell you what they do (align top edges, align vertical centers...). The left buttons are for alignment, the right buttons are for spacing. Now it will all depend on what directions you want your elements to be. In my case I need them aligned vertically from their center (although it wouldn't matter because they are round in shape).

So while my three layers are all selected I can now click on "align horizontal centers" (Notice how you think it should be "vertical" but it's the opposite.) and that takes care of alignment.

For the spacing I want them spaced out evenly from top to bottom so I will click on "distribute vertical centers". And voila!

If you need to move them around but don't want to disturb your hard work, move them as a group. You can select all three layers again and right click on one. Find "link layers". This will allow you to adjust their position on the page while keeping their distance with each other.

I hope you learned something today!

If you have enjoyed this tutorial, please feel free to link others here, but you are not allowed to copy its content or claim it as your own.  You may download a PDF version of it HERE.

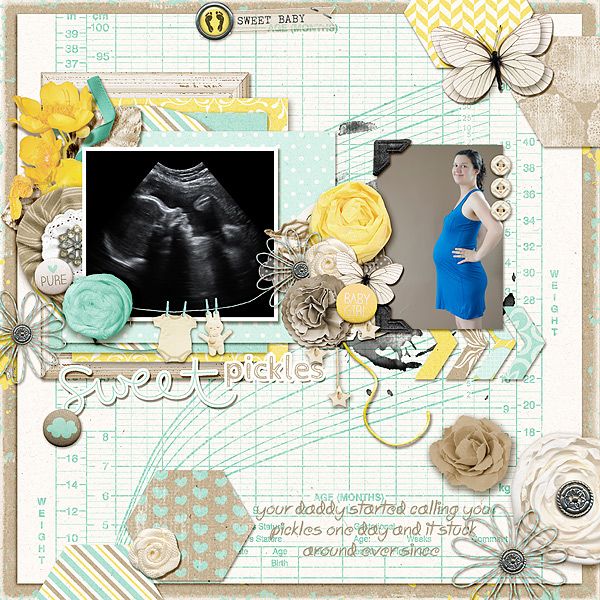
Curious as to what kit I used with this layout? You can find "Miracle Boy/Girl" at SBG and Sweet Bump also at SBG.

http://shop.scrapbookgraphics.com/scrapyrus-Miracle-Bundle-kits-only.html
http://shop.scrapbookgraphics.com/scrapyrus-Sweet-Bump-Bundle.html

Friday, August 15, 2014

"Old Romance" Freebie - Featured Designer at ScrapArtz

This month Scrapyrus Designs is the Featured Designer for ScrapArtz.  If you'd like to find out more about Sonia, the designer of Scrapyrus Designs, just follow the link above to read a brief interview and find the link to this freebie mini.  AND.... just because Sonia is so generous she even made a freebie add-on that coordinates with "Old Romance".  You'll find that link at the end of this post!  You'll love the vintage feel in earthtone colors that will add a special touch to your layouts!

Old Romance:

http://www.scrapartz.com/favourite-designers/


Just look at what the CT were able to create with it:


Freebie Time!!  Here' is your free Old Romance Add-on:


http://www.mediafire.com/download/zzf8p4shjh89ama/Scrapyrus_OldRomance_ao.zip
{Sorry, this freebie has expired.}

Monday, August 11, 2014

August Gallery Pick

It's time to showcase another layout we found in the Scrapyrus Designs Gallery at Scrapbook Graphics that just was too amazing not to share!  This layout, "Great Things" by Cynthia just made me smile.  The bright, happy colors of the kit and that little expression on her face just made me stop and stare! LOL!


She used "Fresh" by Scrapyrus Designs and below you can see the whole collection!  It is on a FABULOUS sale today so click the image below and check it out!

http://shop.scrapbookgraphics.com/scrapyrus-Fresh-Bundle.html


Friday, August 1, 2014

August Blog Challenge

Well, this year is really rushing by, but I trust that you are enjoying the last month or so of Summer?
Thanks to everyone that took part in July's Blog Challenge, the winner will be announced at the end of this post. For the new month we have a new challenge. I love having fun and creating titles that form an integral part of my page design, as well as "hooking" the reader into the layout. Sonia usually adds two stunning alphas in her kits, so for this challenge I would like you to have fun and to include two alphabets on your layout.


Layout by Stefanie using Childhood Memories Bundle

The Rules:
1. Create a new layout
2. Use 100% Scrapyrus Designs Products (freebies are allowed)
3. You are welcome to submit more than 1 layout, each one gets you a chance to win.
4. Please upload your layout to a gallery and link us up in the comments before the 25th of August.
5. Mr Random will pick a winner to receive a kit of their choice.


Layout by Emily using Fresh, Scattered bits and Alpha.


Additional layout by Stefanie. Kit is Beachaholic Bundle. The Fishies alpha was changed using the linear burn blending mode.


Additional layout by Emily, using My Sunshine Bundle.


Layout by Petra, using Fresh Bundle

And the winner of the July Blog Challenge is Jenni.


Please email scrapyrusdesignsteam at gmail dot com with the kit of your choice. You have one week to claim your prize.