
Create your layout as normal.
Resize it to 600px. (image - resize- image size 600px by 600px at 72 dpi, keep scale styles, constrain proportions and resample image boxes all checked.)
Save this as a jpeg image.
I then open this new saved jpeg image, and go to Enhance - unsharp mask (150% amount, 0.3 pixel radius and 0 threshold), then save it again, over writing the original.

The difference is subtle but marked, even when viewed side by side.

I would then resize for web to decrease the size down to the 250 kb maximum most galleries require and save it as a smaller version with the same name ~ adding a small into the title, without over writing the saved image.
I hope this simple tutorial helps you to add that extra something special to your layouts when viewed in galleries.
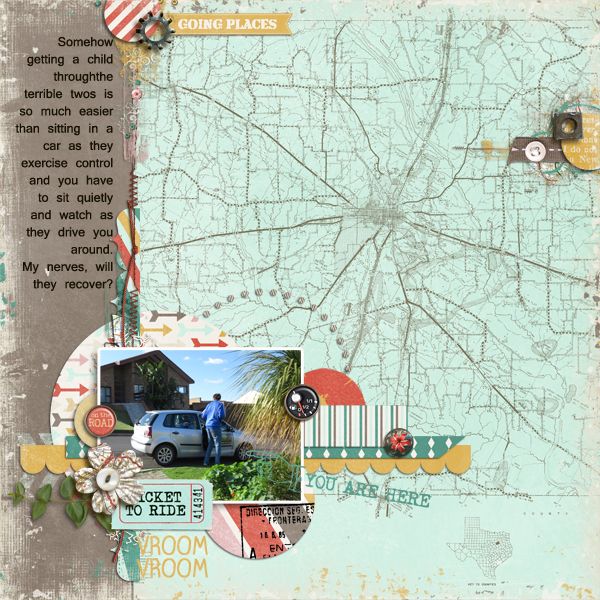
For my layout Learners I used Scrapyrus Design's kit called Hit the Road.
Post a Comment